Godot’s High Level Networking tutorial (and book chapter) do a great job of explaining a peer-to-peer networking setup. However, many games want to be server-authoritative, and to set up a multi-area game, you sort of need to. Luckily, you can use the same primitives to build a server/client game. This is just sort of a brain dump of my notes that may be helpful in navigating the MPEVMVP source. Feel free to post any questions you have about it; I love to talk about this stuff.
The technical requirements that deviate from the basic tutorial they hand out are as follows:
- Server-authoritative client/server game
- Multiple levels that players can switch between
- Players are able to join a match in progress
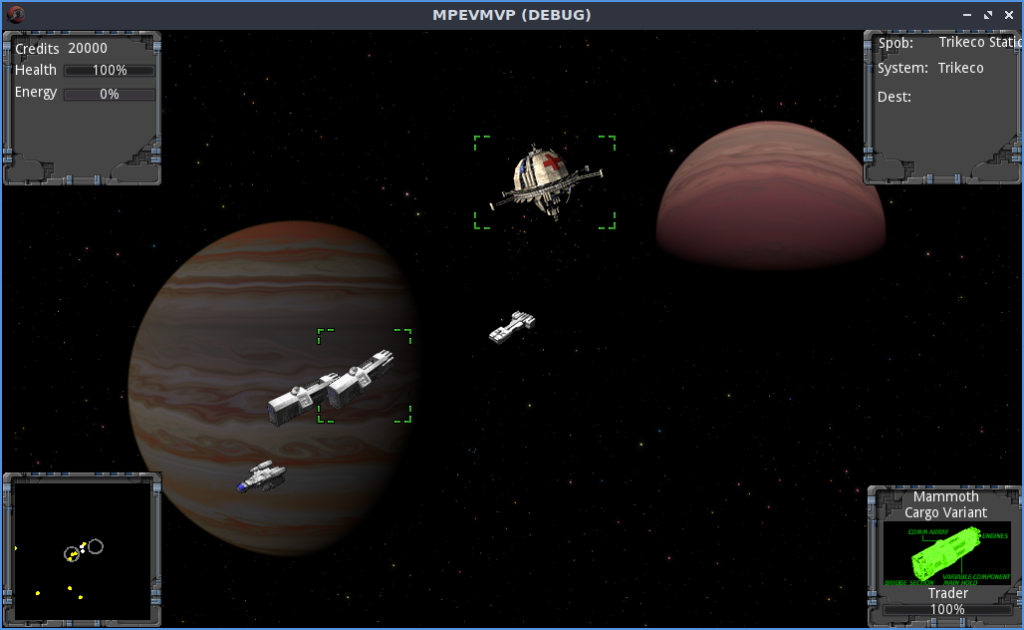
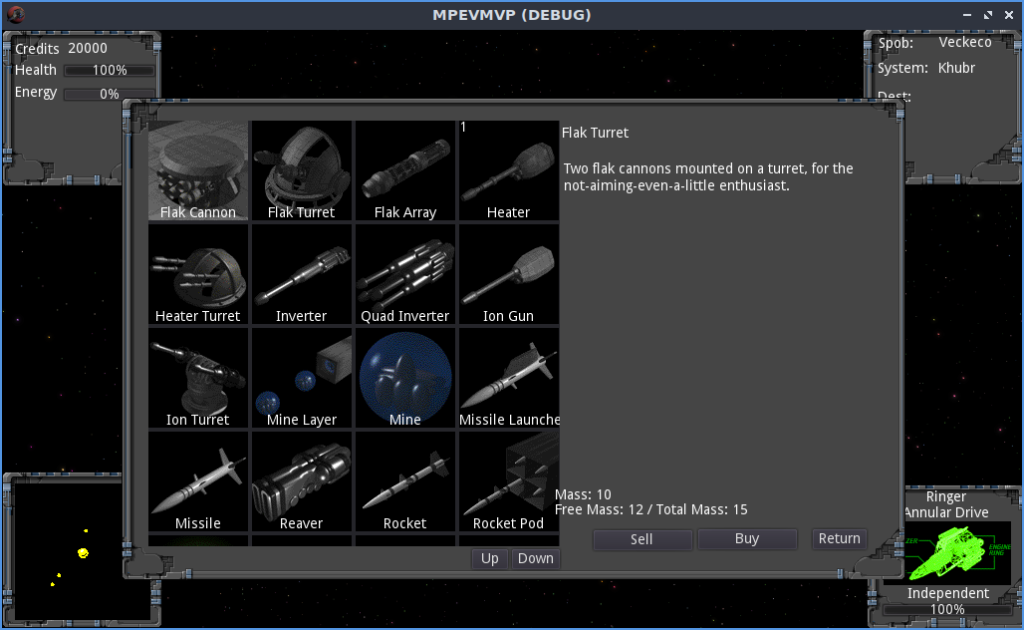
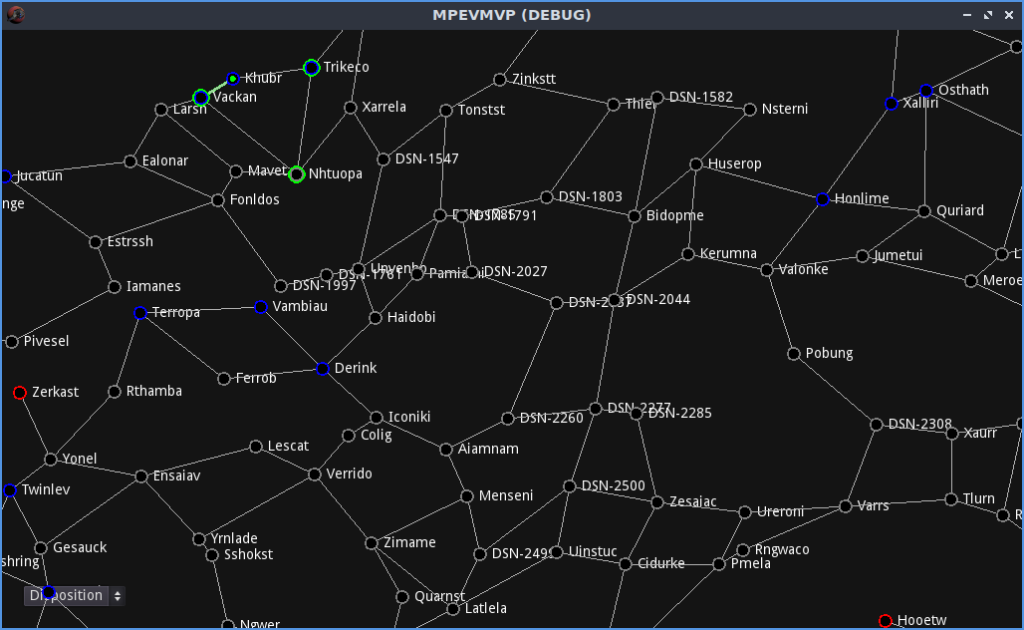
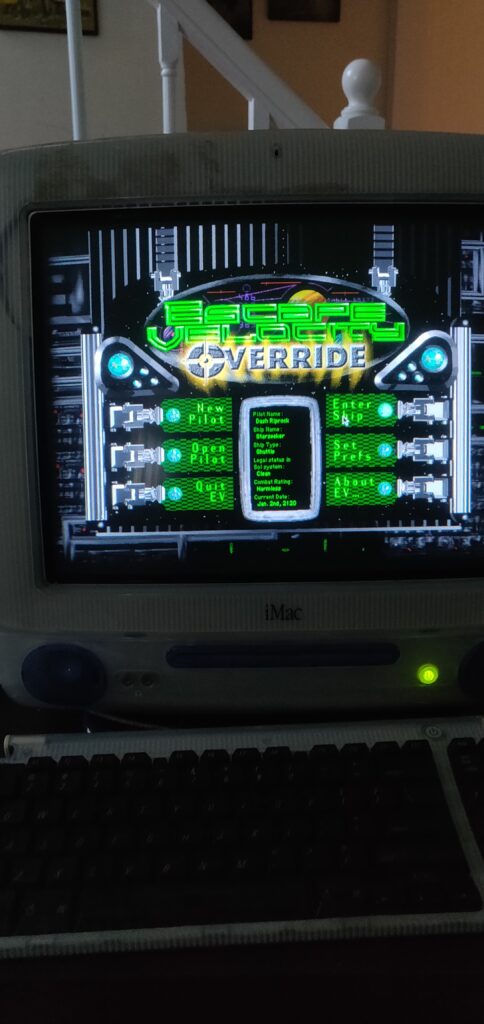
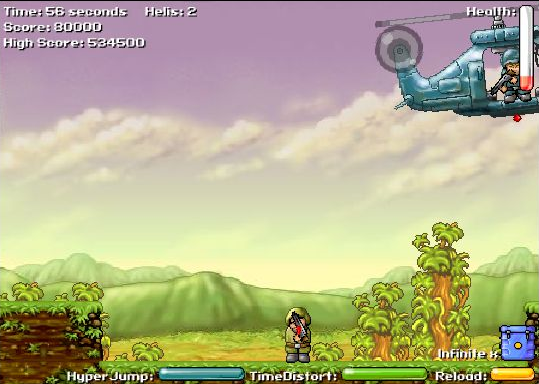
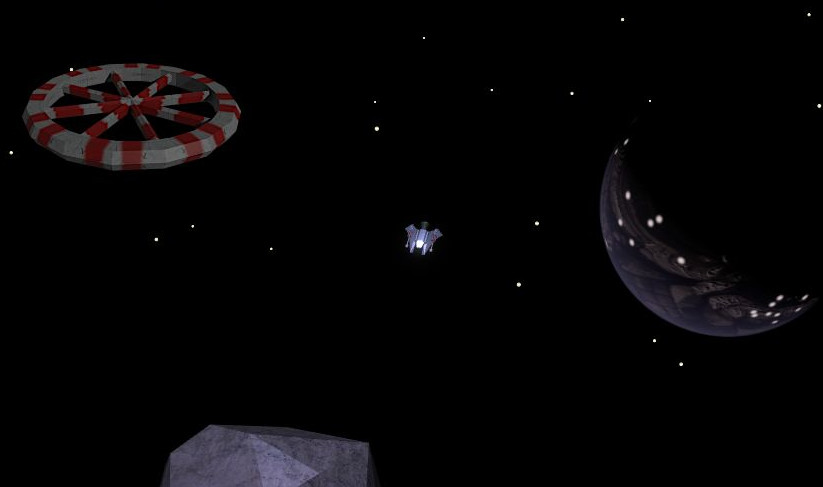
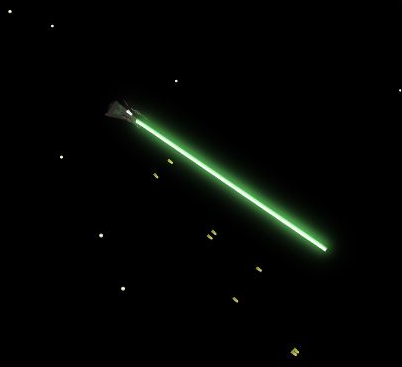
In case you haven’t tried it, the project is here: https://github.com/eamonnmr/mpevmvp. The gameplay is similar to Asteroids (and, well, similar to Flythrough.Space): it uses RigidBodies to simulate movement, you can shoot other players to force them to respawn, and you can press “J” to initiate a hyperjump after you’ve pressed “m” to select a star system from the map.
Godot’s Networking Golden Rule
A remote call (rpc, rset) is going to be called on the remote node with the same node path. That includes name of the node, the name of the parent, etc, all the way to the root node. You can set a child node’s name with set_name but if a similarly named child already exists, an @number will be added to your node. This is a major source of bugs for networked projects, so be careful. You cannot set a node to a name with @ in it. So in effect, you cannot use Godot’s auto-incremented names (since they append @increment) to sync between the client and the server. For this reason, I used a uuid library for generating node names.
The need for the same structure on client and server despite the fact that the server held a whole universe while the client only cared about one system is a major source of complexity in the codebase.
Server Authoritative
I implemented the Client and Server as singletons that exist on both sides. The reason for this is that it makes it really readable; when the client needs to send something to the server you write Server.rpc and when the server needs to send something to the client, you use Client.rpc. Besides this line of communication, I’ve used rpc and rset within various nodes to update and alter the client versions of themselves. This always happens inside an is_network_master block, to ensure that it’s being called on the server version of the game.
The one thing we do need to gather from clients is input, and for that each client has a PlayerInput node, network_master’d to them. They rset_id input up to the server. The server copy of the player nodes looks at this remote copy of the player_input to determine it’s behavior, then pushes its state back down to all clients.
Multi Level
Suppose you want to have multiple different levels/worlds/rooms in your game. The trick is that you need to mesh the following two constraints:
- Node paths need to be the same between client and server (see discussion above)
- The server needs to have different node paths for each level
The trick, then, is to send the client to the new level by loading the appropriate level and making sure it’s named appropriately. There’s one wrinkle though: different 2d physics worlds need to use a Viewport class, but you don’t want to add additional viewports on the client for performance reasons (tried it, it was way too slow.) My solution was to add an extra layer of nodes called “universes” in the comments which are a Node2d on the client but a Viewport in the server. They are managed on the server by ServerMultiverse and on the client by ClientUniverse. Client Universe cares about a single “universe” child whereas ServerMultiverse handles multiple children.
Sending Entities/Switching Levels
In order to join a match in progress or switch to a level that already has stuff in it (or, indeed, switch a player into a level) we need a robust way for the server to move fully-formed nodes to the client. Godot does not provide a generic “send this node” method, so we need to write one for ourselves. The approach I took was:
- Assume that the ent will be instanced from the same scene that the ent on the server is
- Write a “serialize” and “deserialize” method that allows it to dump a dictionary with all of its important state and recreate itself from that dictionary.
- Make sure the node on the client side is assigned the same name as the one on the server side.
So when a client’s level is switched, they dump the current level and recreate the new one by loading in the scene and then, node by node, deserializing the state sent from the server. As it turns out, this means that any state can be synced freely, and it enables us to dispense with the lobby entirely and let players join and leave at will.
Sync In Multiple Levels
Each level owns the process of syncing its state to clients in that level. Scenes within the level can declare a method that serializes their state for a net frame, and the level gathers all of those up and sends them. The client receives the frames from the server, and the individual scenes use the content of those frames to interpolate their position. To save bandwidth, I only do this for ships and guided projectiles, everything else moves deterministically. This whole process is derived from the teaching of (and better described by) this video.
Player Lifecycle
Because we’re using the player’s presence in a level to determine if we should update entities in that level for that player, when a player’s avatar is destroyed the world seems to stop for that player until they respawn. This might be desirable in some games, but I think most games at least want to show the player the immediate seconds after their own demise. So what we do is replace the player with a ghost.
Tooling & Workflow
GDScript is based on Python 3 and the most basic syntax resembles it. ‘func’ in place of ‘def’, no ‘self’ and no list or dict comprehensions or other advanced features. It feels like the python of basic python tutorials. However in exchange for this, you get one thing python 3 does not offer: true static typing. In Python 3 you can offer a type hint for a function argument but it is not truly enforced. GDscript enforces the types at compile time and boy does it ever catch a lot of bugs. You also get the ability to define classes with typed members, similar to what you get in Python with Pydantic. Overall I like gdscript and the things I miss aren’t dealbreakers.
The lack of a vi mode for the editor hurts. I know I could just use the godot plugin for vi, but I actually really like staying inside Godot’s editor. Despite the slightly crowded layout, it’s really very nice. The autocomplete to node paths is a killer feature that makes dealing with complicated trees less of a pain.
Conclusion
Building a multiplayer game in Godot is possible but by no means easy. The high level multiplayer API despite its gotchas works well, but you need to implement the sync logic yourself. This shouldn’t be too surprising as games have very different needs when it comes to net code. I hear that a similar mechanism for frame based sync and lerping is going to be more built-in in godot 4, which would be sweet. The puppet system (which I initially used; you can see a version in the tutorial) seems to be useful only for very low latency situations, so I regret that it’s a first-class feature because it may lead people down a rabbit hole of net code that will not work for most games.