My vow to stop making EV-likes has had mixed results. Here, I’ll discuss some of the more interesting aspects of a recent EV-Like, Galactic Night.
Perspective on perspectives
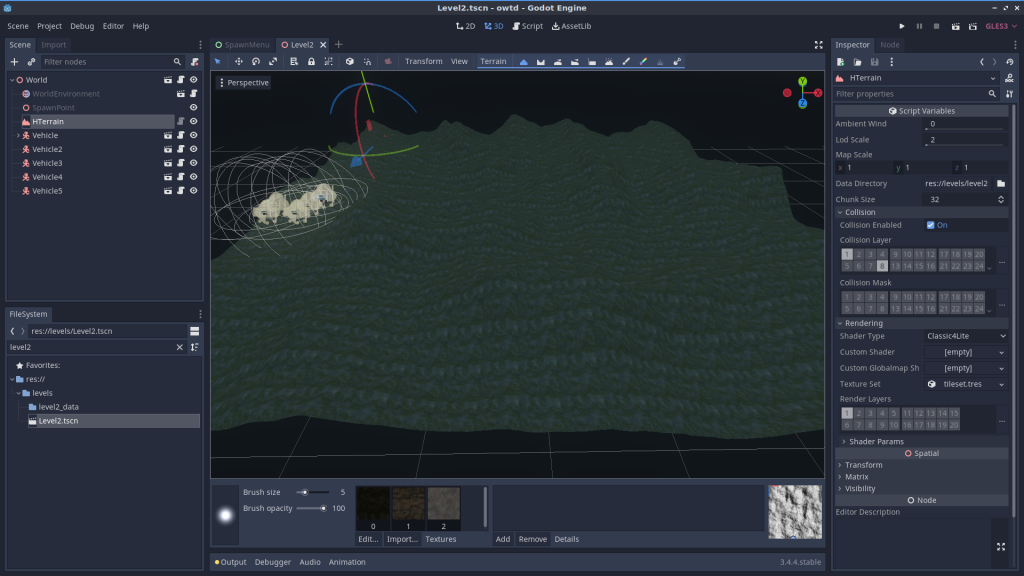
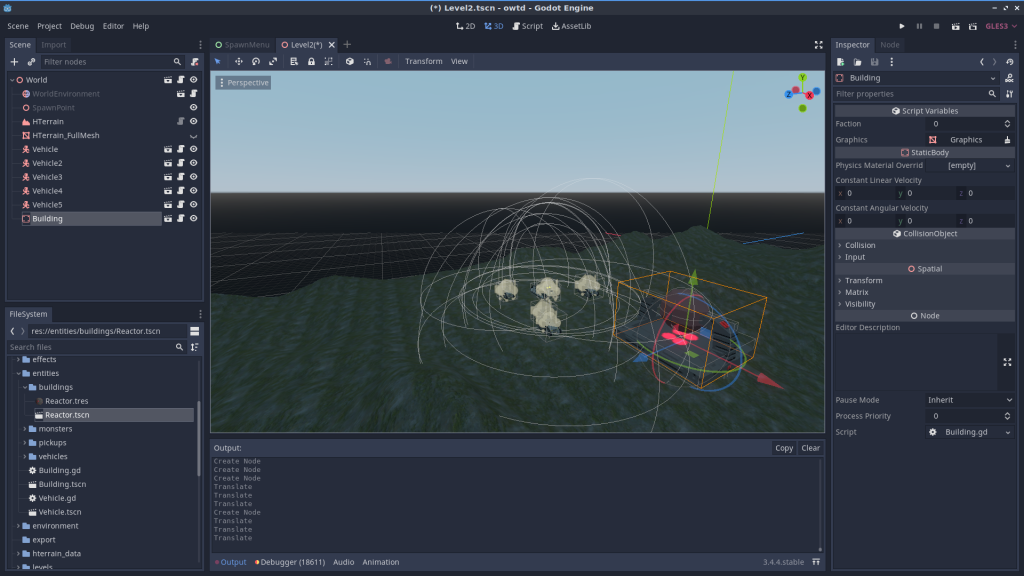
While I did make a serious run at doing a vehicle game in Godot, it was hard to get around just how excellent the affordances of what I’d already built were, and what was lacking in Godot 3. But it didn’t start there. It started with an observation:
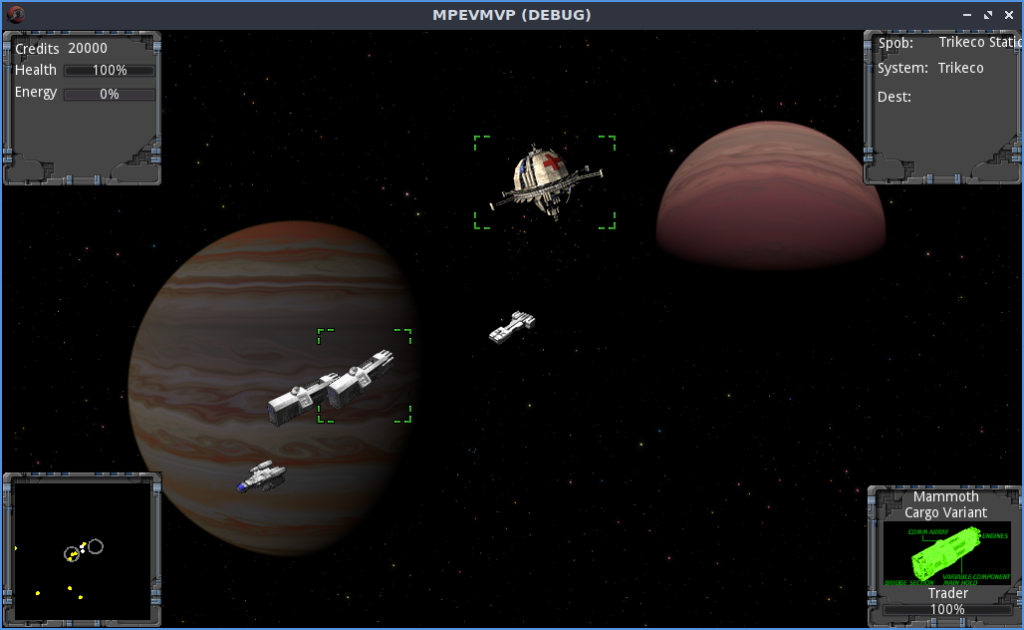
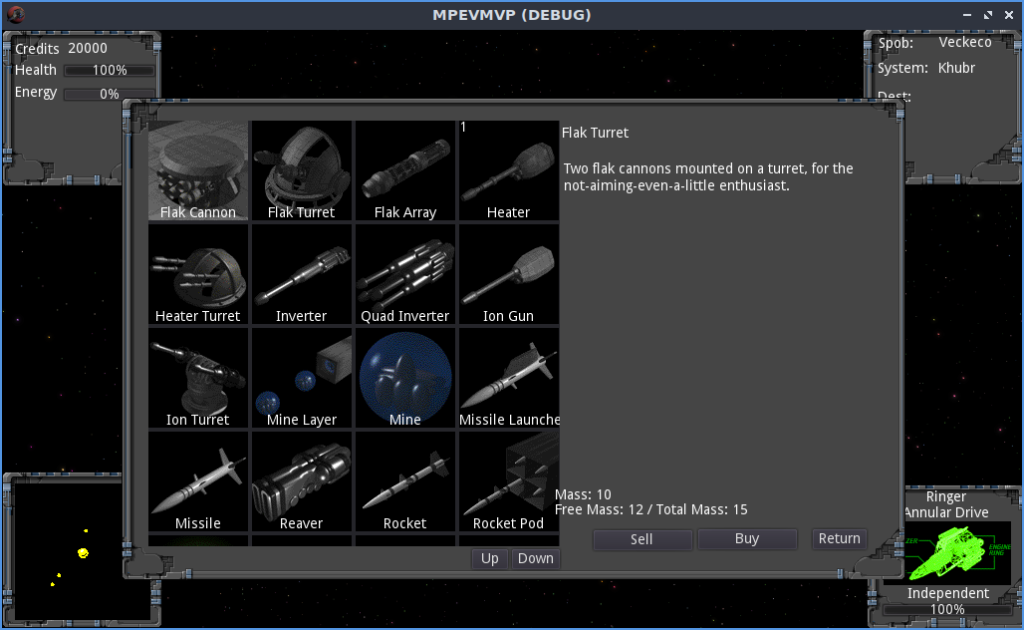
Ships in EV Nova (and MPEVMVP, for that matter) are sprites rendered from 3d models. They are rendered with perspective so that when the front of a ship faces the screen, it appears larger than the back. It’s subtle on some ships, obvious on others.
Perspective camera isn’t the norm for sprite games. Most games with pre-rendered sprites use an isometric camera; here’s Starcraft as an example:
For games where the units are in a rich world with lots of points of reference, rendering them in perspective might look wonky. Too much perspective might look wonky under any circumstances! However, the decision to use perspective in the sparse world of Nova lends the ships a sense of scale.
2.5d games that use a full 3d world instead of sprites tend to either use a perspective or isometric camera. It’s easy to implement either in Godot (and other engines) by changing the camera’s mode. But I was curious: could I implement something with a vertex shader that would deform a mesh such that it appeared to have perspective, even while rendered in an isometric view? Perspective, I should note, not truly relative to the camera, but relative to an imaginary camera ‘rendering’ the imaginary ‘sprite’?
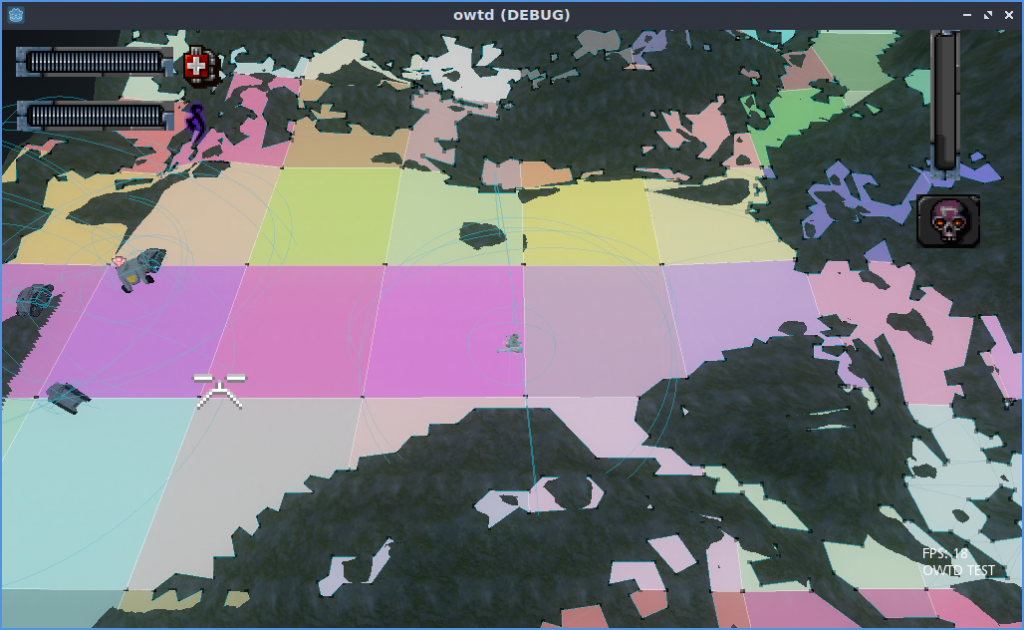
This is difficult to convey with words, so I built a demo:
What’s interesting about this, at least to me, is how difficult it is to notice what’s going on. Your brain seems to happily accept the very unnatural perspective. At least mine does. But if you look closely, you can see that no matter where the spaceship (and thus actual iso camera) move, the spinning cubes maintain their fixed perspective, just like sprites in an old school video game.
Flying around was fun, I wanted to do more stuff. It got out of hand. It’s a whole game now.
More Ship Shader Fun
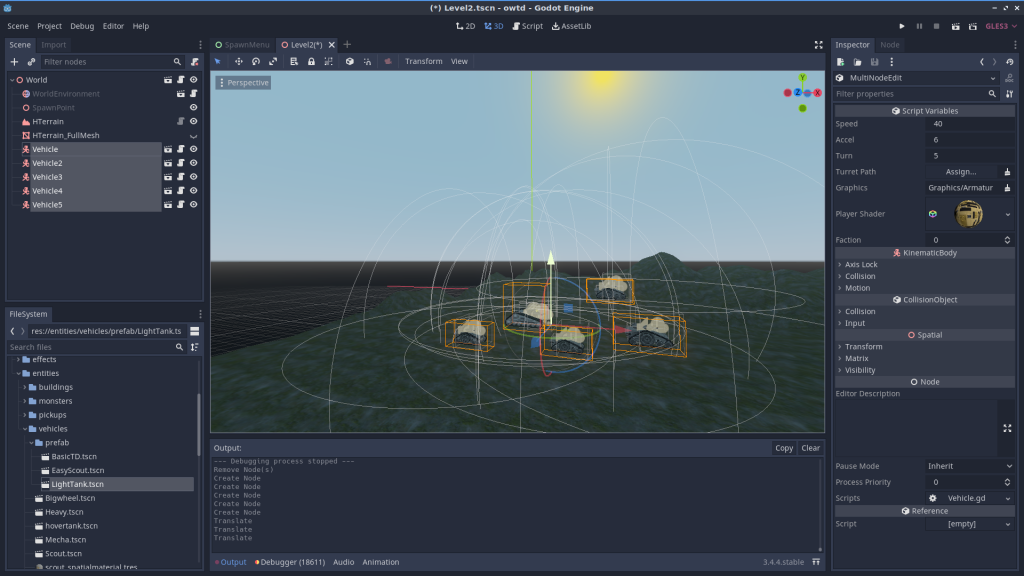
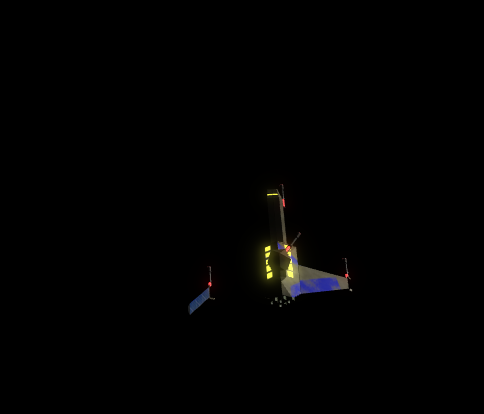
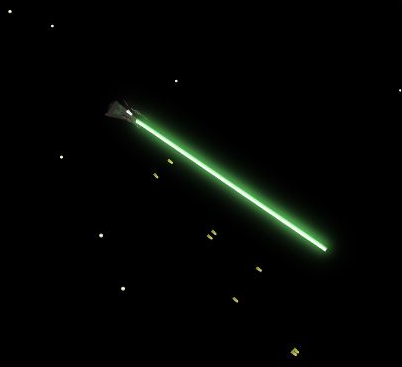
Using a 3d pipeline offered the possibility of using some nice 3d features, exploiting the fact that the textures and effects were in-engine rather than an external pipeline. Nova has engine glows and weapon glows; I implemented those too.
Nova also has an (unused) feature where you can stain your ship a different color. I wanted to try something similar, but nicer:
You can check out the full ship shader here. Note that in GD4 you can split shaders into multiple files, so the important parts are the perspective transform here, and the color swap logic here.
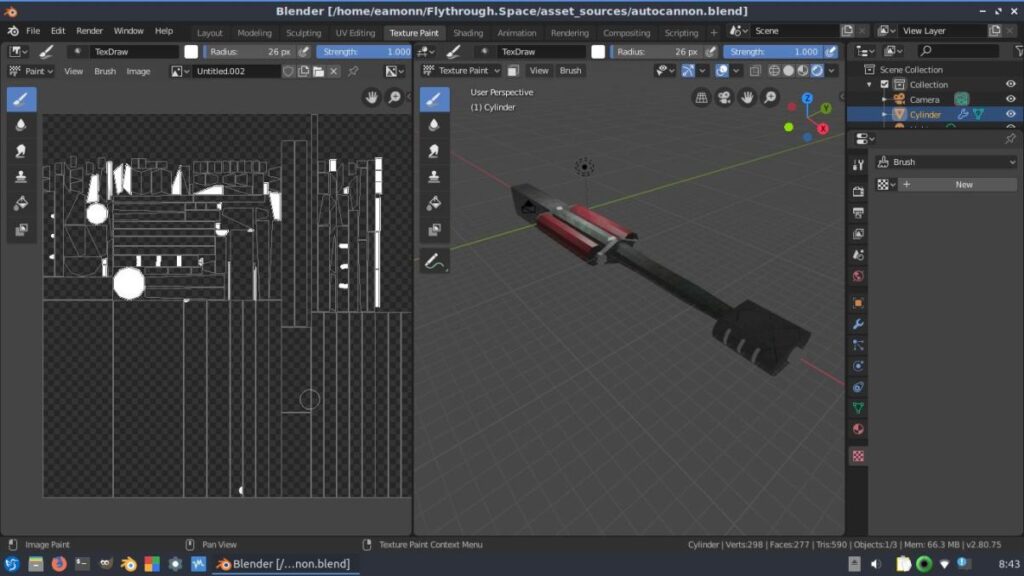
Union Bytes Painter allows for multiple texture layers, so it’s easy-ish to make separate textures for lights, engines, weapons, paint, and a base. It’s a little clunky for exporting though – I need to show/hide layers and export a few times. Still miles better than the Blender workflow I used while working on Flythrough.Space.
Flat Space
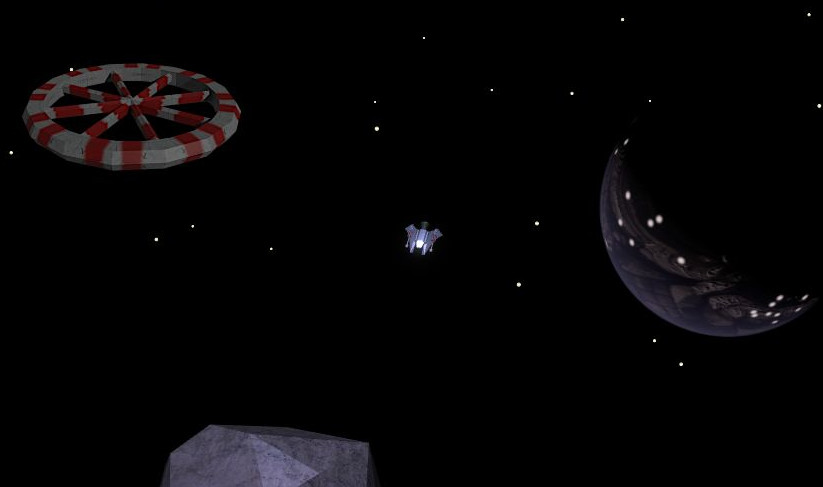
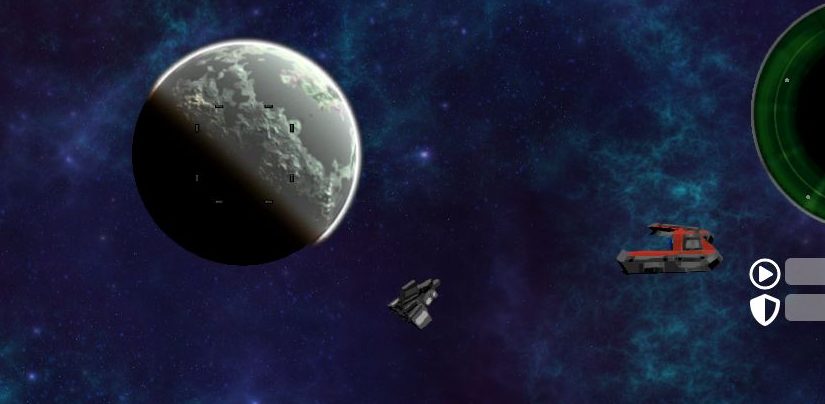
I wanted to create a nice set of planets and nail the EV Nova look, so I followed tradition and picked up the venerable LunarCell, which was also used to render the planets for EV Nova. This creates (gorgeous) 2d planet sprites:
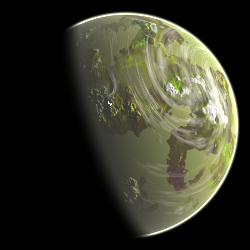
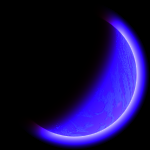
Only problem? Lunar Cell doesn’t create masks, just planets on a black background. Solution? This remarkably simple shader:
https://github.com/EamonnMR/galactic-night/blob/main/entities/spobs/Spob.gdshader
You’ll notice though that that’s a 2d shader, and the game is 3d. That’s the neat part – the background is a 2d canvas! We use this class to make sure the sprite in 2d space tracks the correct position in 2.5d space:
https://github.com/EamonnMR/galactic-night/blob/main/component/FollowerSprite.gd
The background itself is basically the same shader I used in Survive Space but with additional special effects you can cue up to make hyperspace more exciting:
I wanted to visually represent folding space, and the looped background made for a unique opportunity to do it. The shader is of course just dropping specific images (Screaming Brain’s awesome Nebula backgrounds) on a couple of layers, but it would look better looped if I did something with Perlin noise.
Procedural Generation
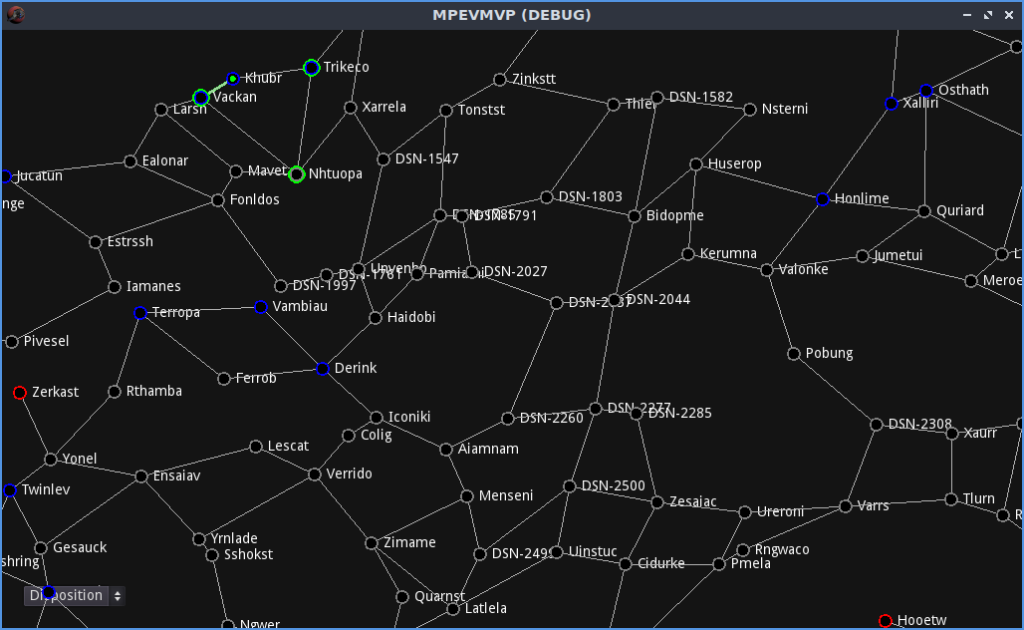
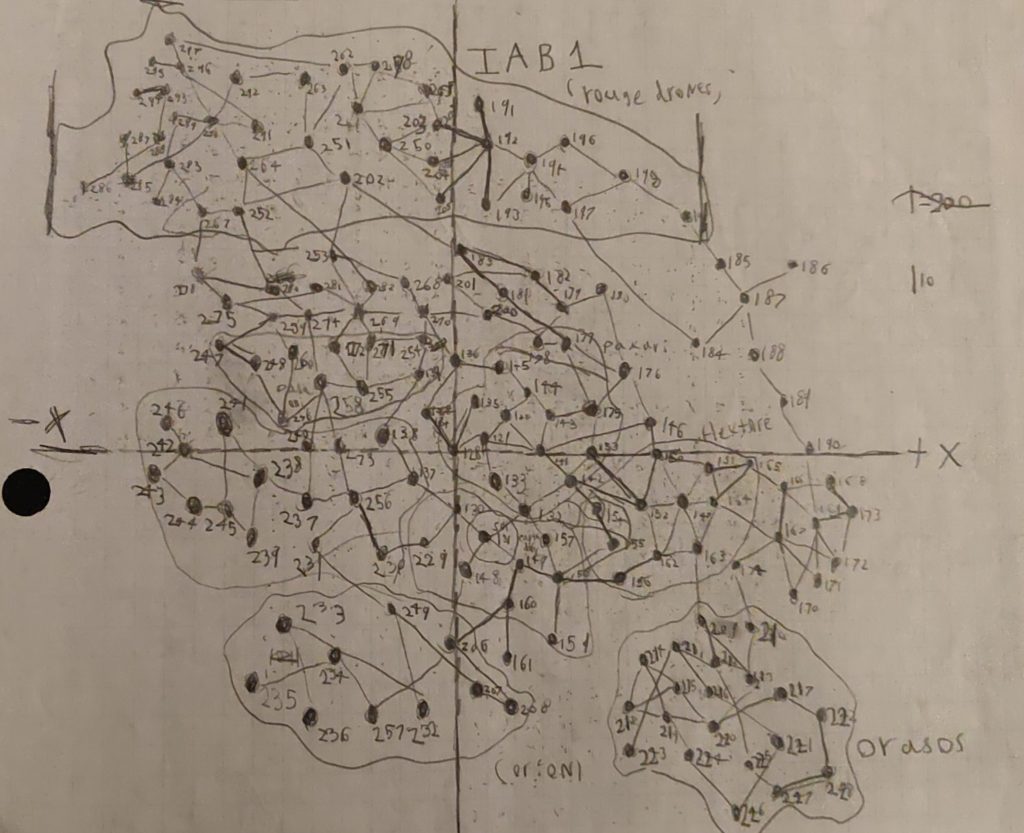
Flythrough.Space used a handmade universe I originally drew on graph paper. While charming, that took a whole lot of work for very little gain at the end of the day. For MPEVMVP I used universe maps generated by Mag Steel Glass’s spreadsheet. Which is fine by all accounts, but I wanted the player to be able to generate new universes on the fly. That’s where I ran into my new best friend: Delauny Triangulation.
Compare:
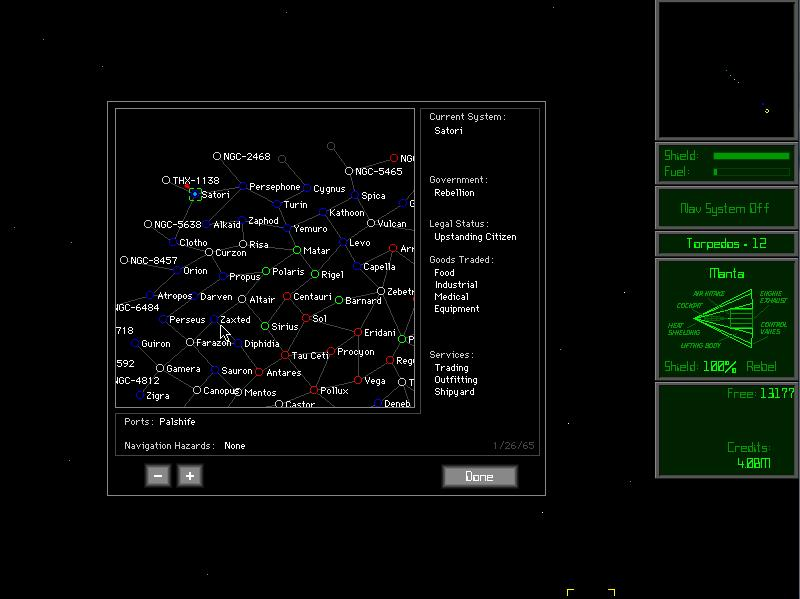
(source: https://preterhuman.net/software/escape-velocity-macintosh/)
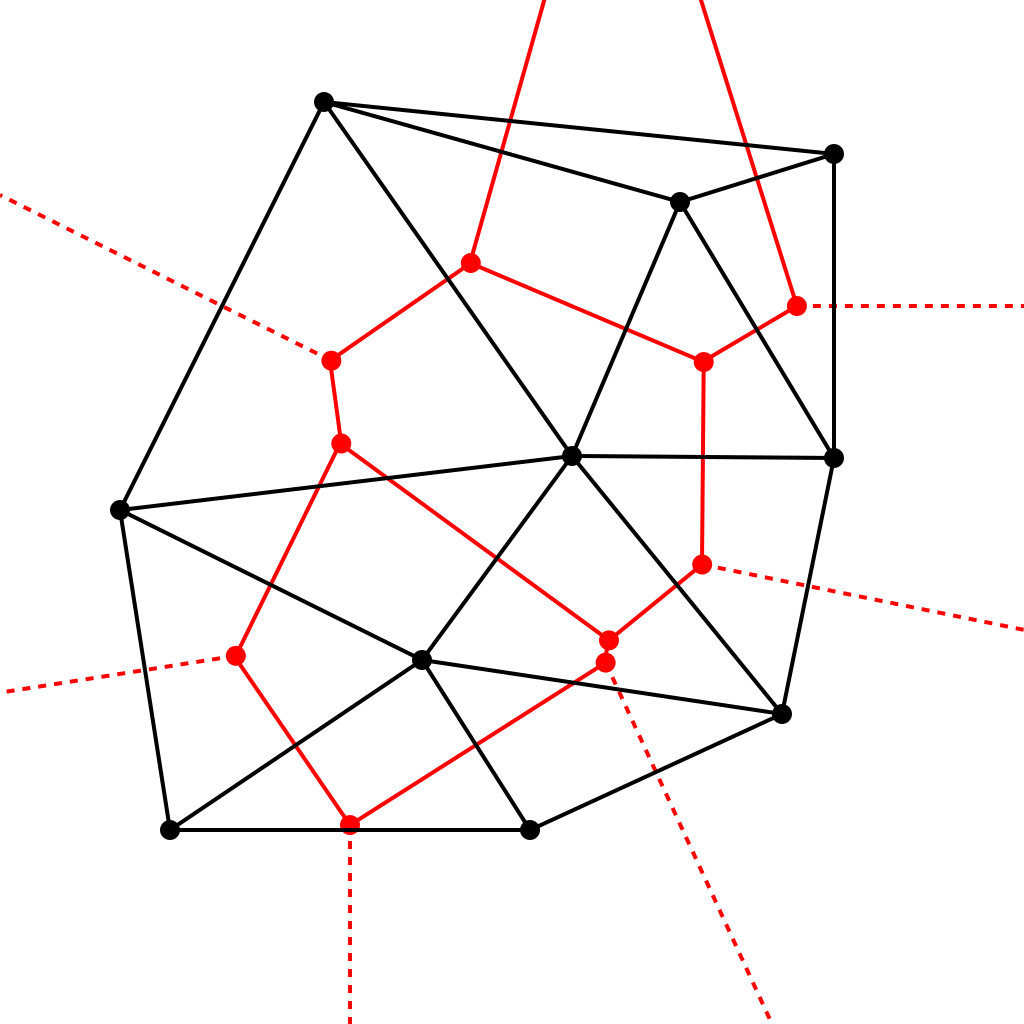
(wikipedia)
Ok, you need to look a bit closely, but in both cases, you’ve got a point cloud that is stitched up by non-overlapping lines. So to generate an EV map, because there’s a library function for that all you need to do is feed it a set of points and get your EV map’s hyperlanes!
https://github.com/EamonnMR/SurviveSpace/blob/main/procgen/Procgen.gd#L87
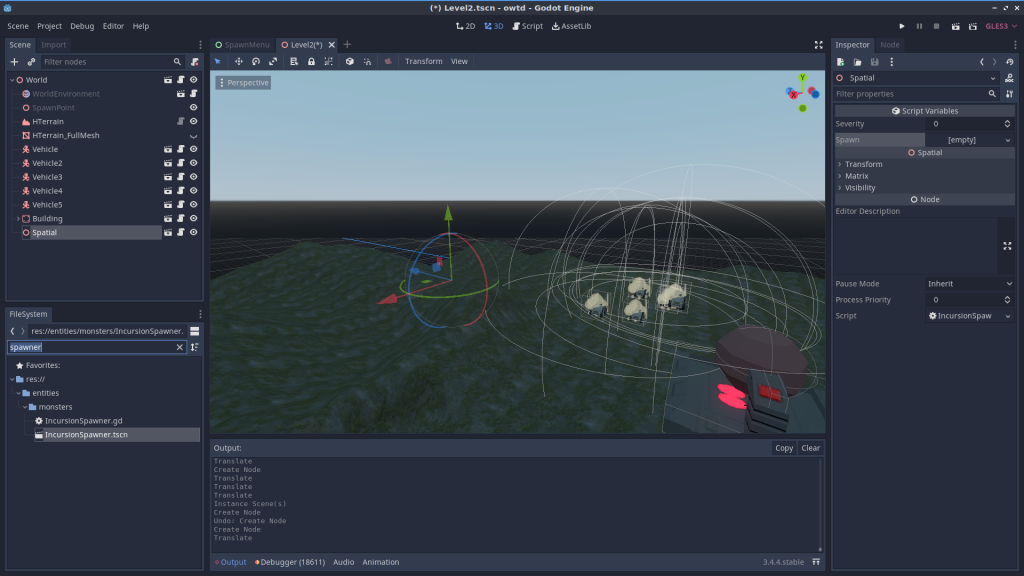
That same strategy carried over to Galactic Night, with some modifications, namely the division of space into quadrants to provide a difficulty curve, and the separation of growing biomes from growing faction influence. In Valheim, the game I imitated most on Survive Space, all three are effectively the same; a biome is a difficulty level is a spawn location for various monsters. In Galactic Night, spawns can depend on biome (for asteroid types) faction (for where to spawn enemies or allies) and quadrant (more difficult NPCs.)
Codex
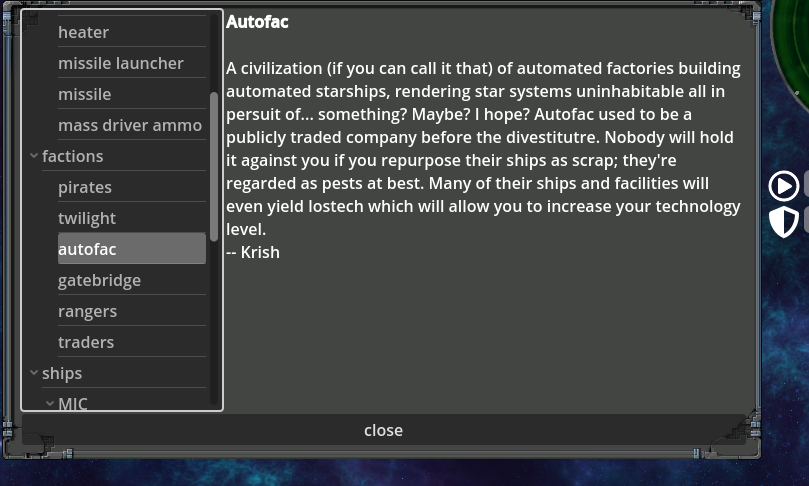
The codex window loads up a folder tree of bbcode (weirdly, Godot’s rich text boxes support this) files and displays them. Item fluff that would usually be embedded in the interface in an EV goes here, a much more conventional placement for a modern game. I never did get around to writing a system for unlocking entries.
Retrospective
I’m proud of the technology and writing that went into Galactic Night, and some of it will certainly be recycled for future projects. I’d be happy if people get any use out of the code or design concepts tested out. I’ll close out with some final thoughts on how the project went.
I think the perspective looked really good, but some people definitely found it jarring. In future projects, it should definitely be an optional feature.
Doing the textures in Union Bytes painter became a slog. Small UI issues compounded over the course of several objects, and it stopped being fun.
Upgrading from GD3 to GD4 mid project was a big hiccup, but ultimately worth it because the syntax of GDscript is far nicer.
Though the procedural universe was really fun to tweak and play with, I don’t think it provided enough stuff for an exploration focused game. Games like Minecraft and Valheim exploit the inherent human desire to play around in a virtual space, and an EV map doesn’t really provide that; in a game like this the contours of the explored world are unique spaceships you find, well written place descriptions, missions, graphics, and the like. I never found a way to work in that level of diversity. Also, I never found an effective way to hint to players that, for example, getting lostech will allow them to increase their tech level and make more options available. Sure, it’s there in the manual, but who’s gonna read that! The upshot was that it felt like a big empty map with nothing particularly interesting going on in it, and no motivation to strike out and try to do stuff. Oh well.