On the eve of the Covid-19 Pandemic, with the stock market tumbling, hundreds (thousands?) of game fans breezed into a convention center to try some new stuff, purchase apparel, and frequently use hand sanitizer. It was everywhere.
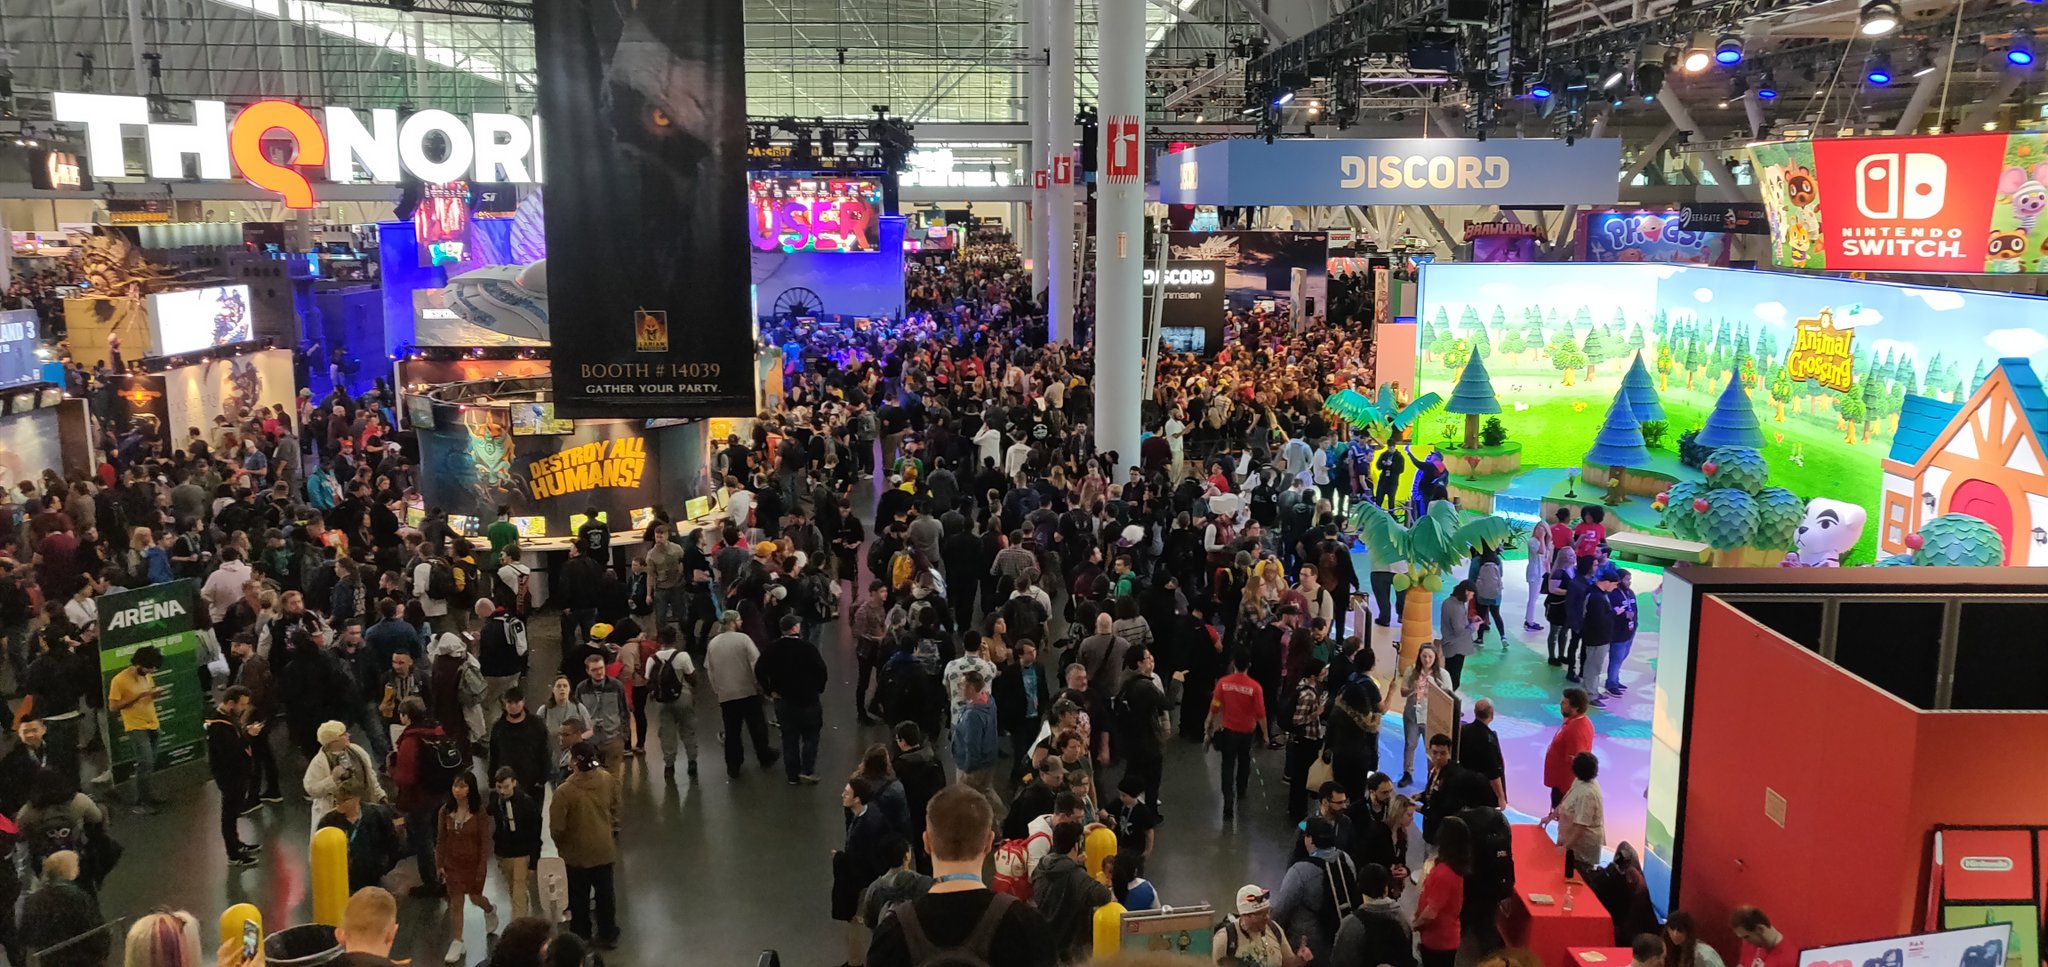
Thursday was far better than Saturday, so definitely go then if you can. I was able to play far more games, and the boardgame tables where much easier to navigate.
Exciting New Games
While speaking to the creator of BlazeSky, I name-checked Escape Velocity and he knew what I was talking about. But the more I look at it, the more it looks like Empty Epsilon/Artemis. The different styles of play (rescuing people, combat, exploration, etc) are represented by different characters who give you quests, which is a neat approach to writing storylines. I found the banking camera made it difficult to reason about where my shots where going, and I hope that at launch there’s an option to keep the camera steady while the ship turns, but even if there isn’t I’ll probably play the hell out of it.
Another game that was physically demanding just due to its camera was Sludge Life. After you fight through its extremely elaborate recreation of a 90s desktop interface you’re dropped in a colorful, heavily distorted 3d environment. Very Getter: Headsplitter. The distortion (I think the vertical FOV was unusually high or low or whatever) was jarring and slightly dizzying. I predict that this game will be a stoner-hit of Rez proportions. Devolver is playing in the same space as Adult Swim here.
Watched some people play Dunk Lords. The world is ready for strawberry-headed athletes. You could dismiss it as Space Jam: The Videogame but stripped of its bizzare branding, the concept of cartoony basketball feels pretty novel. Sports games that attempt to simulate a sport (like EA’s catalog) or Be a sport (like Rocket League) aren’t my jam, but using the basic rules of a sport to do something unique or new definitely is.
Watched some Panzer Paladin play. There was an enormous reproduction of the cover art, standing out against the crowd. Makes me wonder what the differentiator is. It looks like a Gameboy Advance game (specifically, it looked like Metroid) to me, and though the mechanics where cool and smooth, I wonder who’s buying enough copies of this to justify an enormous booth at PAX. What’s the differentiator. Are they just striking at the right moment? Is it the great Anime art? Am I not enough of a sidescroller fan to understand what the difference between it and AVGN Adventure (which we also demo’d) is.
A radically different sidescroller with very clear differentiation was Carrion, a game where the avatar resembles the blob monster from The Thing. I’m not sure what the gameplay is besides sliding and swinging around an industrial environment and eating (?) the little NPCs that run from you.
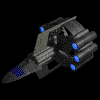
If you’re itching to play Star Citizen but don’t like social interaction or having to hire an entire clan to operate your large spaceship or pass flight training to join an org, and also want a game that’s finished, I unfortunately can’t recommend Everspace II yet, because it isn’t finished either. But what I did play compared favorably to Star Citizen, and I venture to say that it’ll be done far sooner. The vision of space was colorful and dense with things to explore and tractor beam into your ship.
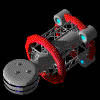
I also got a chance to demo Brigador Killers. In addition to the stompy robots seen in Brigador, you get to play as an infantry suit or a giant floating wrecking ball. The controls are also slightly different – rather than absolute direction, your WASD controls are now relative to the mouse. It took some getting used to, especially with the wrecking ball.
Parting Thoughts
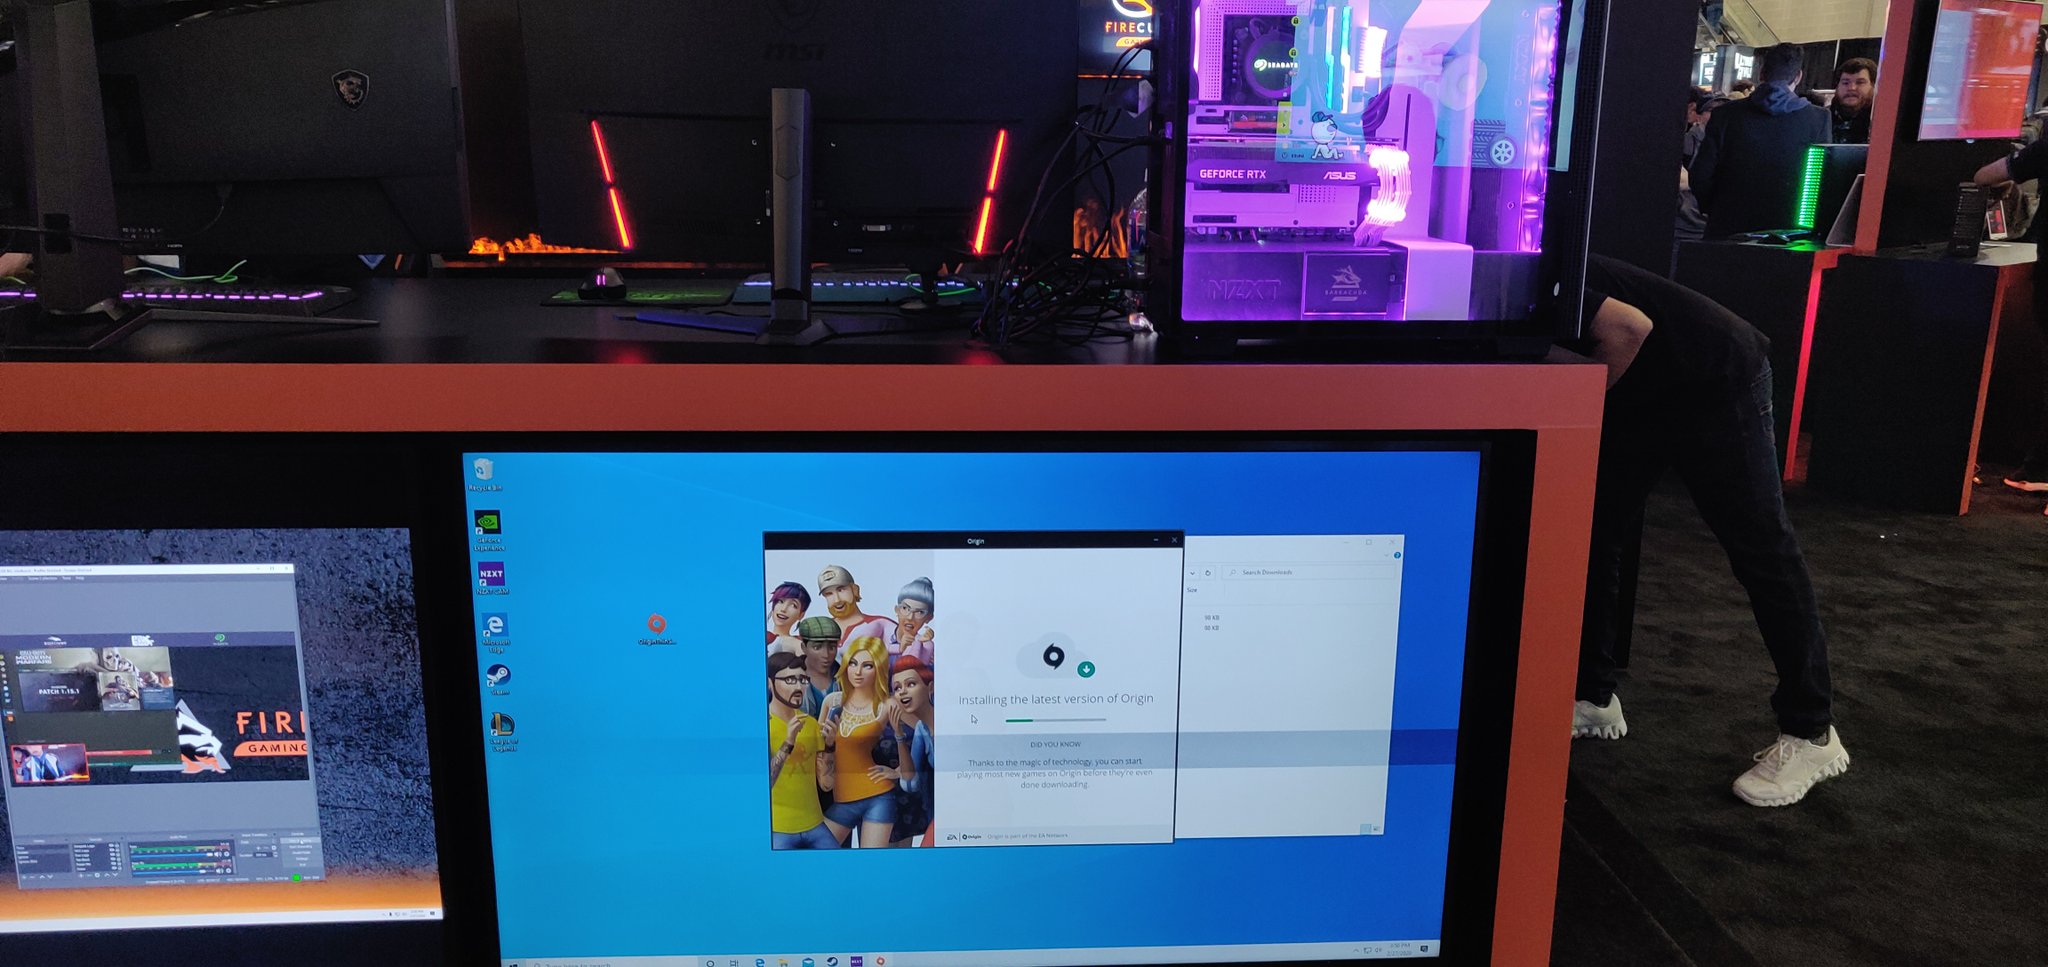
Check out the screen attached to this expensive of a gaming PC. I’m not sure words will do it justice, but if you’ve been here, you know.
I also demo’d a Cookie Clicker clone which I won’t name to protect the guilty. It pitched itself as being about the development of life from molecules to technological singularity. However, in reality it is a cookie clicker clone, the meta of a game (buy stuff on a tech tree to augment your abilities) without the actual gameplay (you score by just tapping the screen. Anywhere on the screen. I wondered again what the filter was between successful games and trivial games. Was presence at PAX a marker of success or a desperate gambit? I told myself I was done with the game, but then I reached down to the tablet and tapped it a few more times.