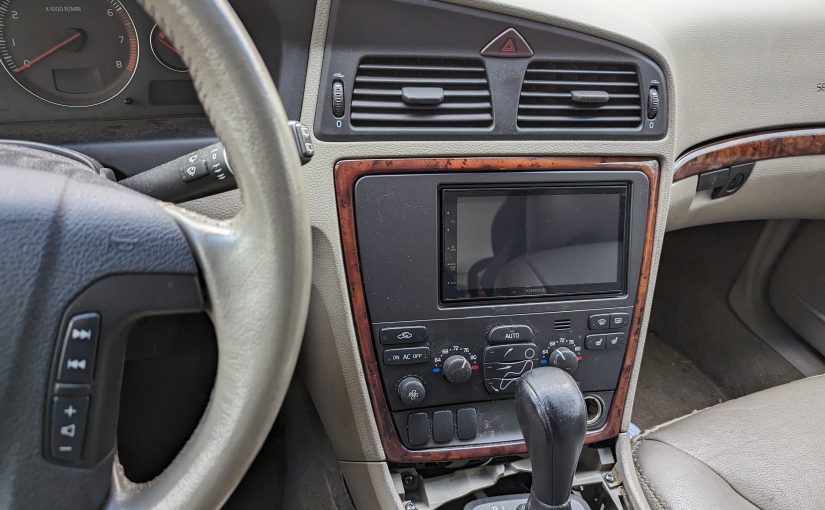
If the CD player worked, I probably wouldn’t have needed to go this far. In my ’01 I got used to sitting through full albums during the scenic backroads trip from North Canton to Westfield. When I grudgingly traded in the 01 for an 05, the CD player was busted, but low on the list of repair priorities-the ABS module and fuel pressure sensor both failed in short order!
Replacing the CD player was, I figured, about the same work as replacing the whole head unit, so why not just replace the head unit? There are a staggering number of head units available, so I arbitrarily picked Kenwood because I like my 3010. I wanted Android Auto for navigation and music. Another somewhat arbitrary qualification to narrow it down was that I wanted a USB connection instead of Bluetooth. I’ve found this more reliable.
I got a ReadyHarness setup from Crutchfield. I highly recommend this route unless you’re a diehard wiring diagram enthusiast; there’s a lot of wires you need to splice and they do a very neat job of it. Also, it’s rather painful to bench test your work, as I’ll explain further down.
Disassembly Procedure
Luckily, this was well covered by YouTube. Most period P2s seem to have similar consoles, so although I couldn’t find an exact match, I was able to figure out everything I needed to from these videos:
https://youtu.be/zjoC_N-6HzA?si=k0sqe-os9YpzeK2o
https://youtu.be/SWUayiVmeOM?si=NOqQILi7le6KVHOj
The procedure (so someone has it written out) is basically:
- disconnect battery.
- Put on emergency brake (this will stick) because next you will…
- Put the shifter into drive
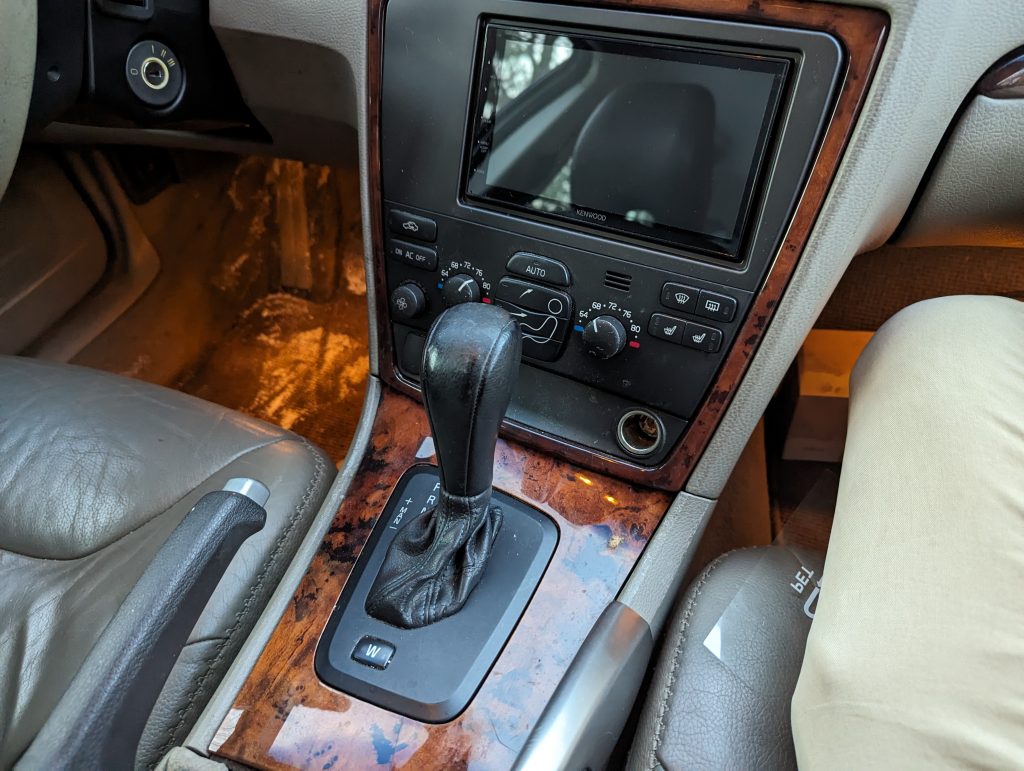
- Remove shifter trim piece
- Remove two screws attaching console assembly, behind the front edge of the shifter trim piece.
- Pry/lift out console assembly
- Remove bezel from console assembly (all of the screws cracked off of mine so it was just tabs holding it on, but it’s supposed to have screws too.)
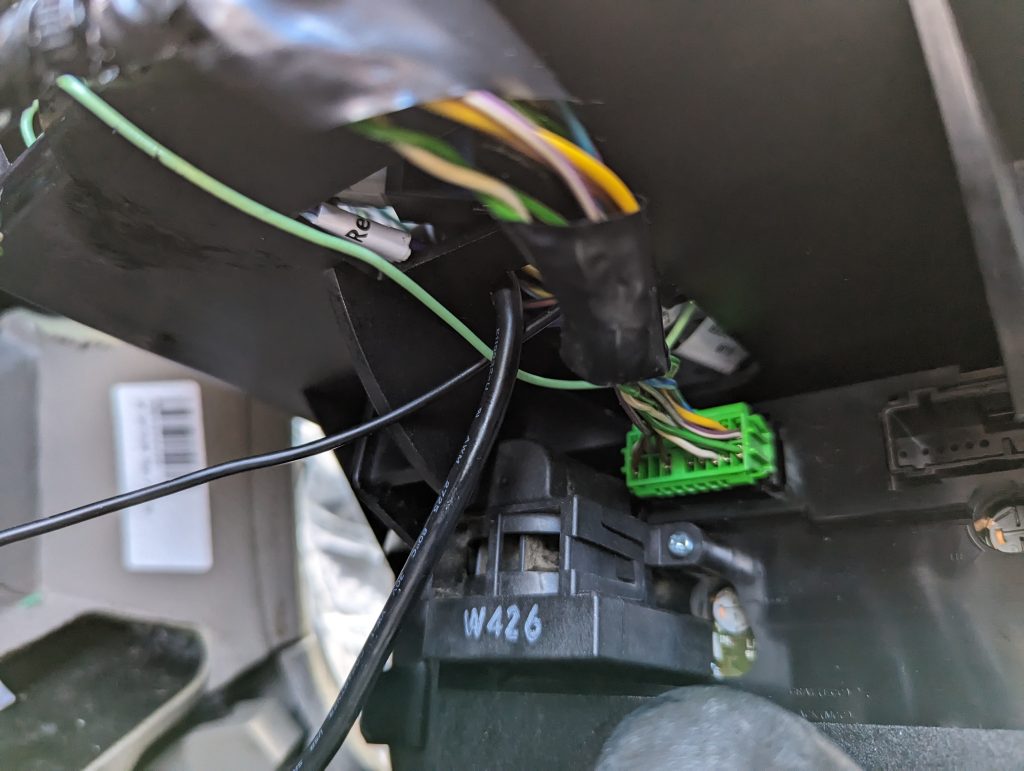
- Unscrew climate panel and disconnect the cables. There’s one (easy) cable for the cigarette lighter and one mutinous bus connection with a tab. Remove climate panel. Apparently if you do this without disconnecting the battery it will give you a trouble code and mess up the sensor.
- Radio is fastened to dash box by several tabs; remove tabs to remove radio.
This all sounds fairly straightforward. I didn’t want to break the extra clip connecting the climate controls from the dashboard assembly though, so I did a lot of work with the console only half out of the car, which turns out to be exhausting. In retrospect I would just break the clip off. The screws are all torx so make sure you have a Torx driver.
Brake light cable saga
Unfortunately, head units with screens seem to need one connection that isn’t on the harness in the ’05: you need to tap the parking brake light wire. This tells the head unit you’re parked so it can pair phones (and I guess play video, if you want that for some reason. I do not.) Since most people seem to just connect it to ground to circumvent the brake requirement, it’s surprisingly hard to find info about doing it the “right” way online. Whelp, there is now!
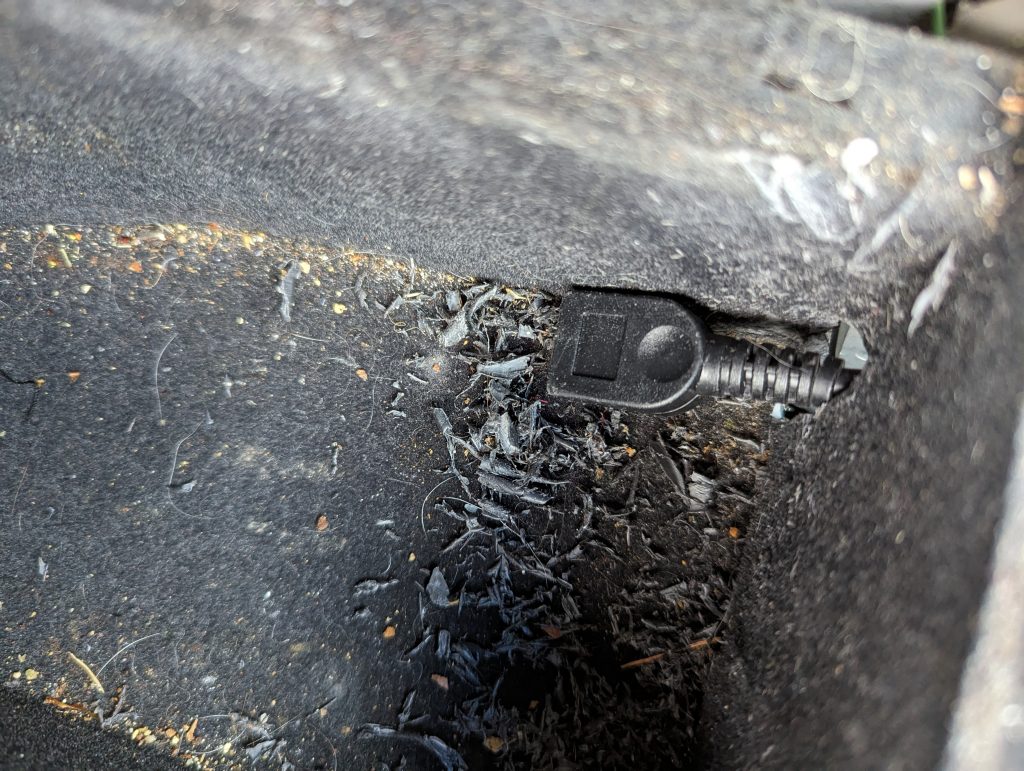
Accessing the brake cable turned out to be a bit of a mystery. Crutchfield provides nice installation instructions but detailed instructions on the best place to tap the brake cable are hard to find. It turns out that for my money, the easiest move was to lift up the center console and chase down the wire. This video provides instructions for removing the center console.
Note that removing the cigarette lighter plug for the back seats is extremely annoying and probably took 1/4 of the total job time.
The cable in question is easiest to tap right behind the brake lever, but it’s difficult to actually get enough room to do it without moving the center console around. You will have trouble reaching it elsewhere, but you might be able to do the tap just by sliding up the trim piece that attaches to the parking brake knob. I appreciated the extra space afforded by having the center console unscrewed. So I guess that’s a win.

With that tapped, you’re ready to wire up the new radio!
Wiring
You have three cables to manage:
- the line tapping the brake cable (green)
- USB cable (black, larger)
- microphone cable (black, smaller)
All three need to be routed between the center console and the back of the radio. There is a hole at the bottom of the head unit housing and enough room behind the climate control box to make it down to the empty space around the shifter, and through there to the console.
I drilled a hole in the cupholder depression part of the center console to feed the USB and microphone cables through. I plan to drill additional holes in the cupholder to route the cables in the empty void between the cups for a cleaner look and to hold cups again.
The Trouble with bench testing
In order to bench test your radio and make sure you made the connections correctly, you of course need to power the car by (at least) reconnecting the battery. However, you don’t want to connect the battery until you have connected the climate control module again. To get all of that connected, you need to put practically the whole dash back together without fastening it.
Also, do remember to use accessory mode! I managed to drain my battery while bench testing, but luckily I had a jump starter on hand.
Faceplate Scare
I grabbed a Scosche DIN adapter because it was part of the Crutchfield package, and the package seems to be the only way to get the ReadyHarness (which you really, really want.) It connects to the dashboard assembly via a series of tabs just like the stock head unit. Unfortunately, the tabs would not engage! I don’t know if it’s because the fit with the Kenwood was too tight and it was flexing the plastic or what, but at this point, I was pretty worried. Luckily, I happened to have a different faceplate already, from Metra Electronics, purchased back when I’d foolishly planned on doing the harness wiring myself. That one fit perfectly, saving the day!
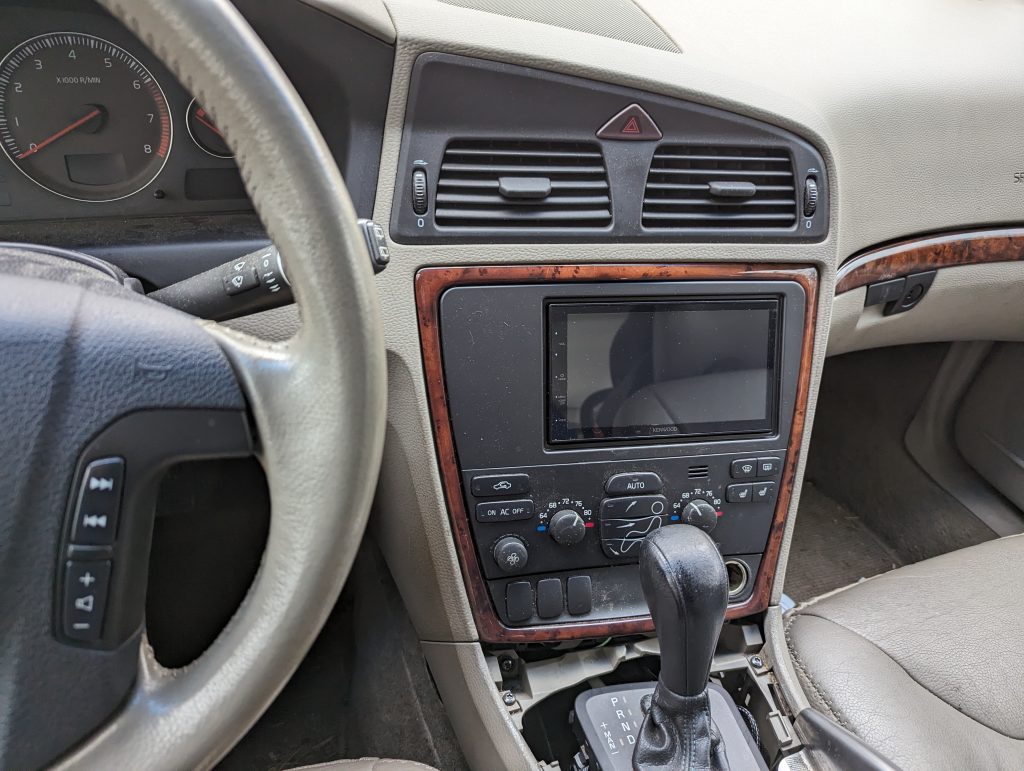
Final Thoughts
Even with the stock speakers, the new radio sounds great. The lack of a knob is definitely a downgrade, but radios with knobs are considerably more expensive. I did the job over the course of a couple of very cold days in New England in February. In retrospect, I should have started this project when it was warmer. I seem to have bungled the microphone connection and I’m probably not going to bother trying to fix it, because I don’t like talking on the phone while driving. Next fix: the turn signal switch is going bad!