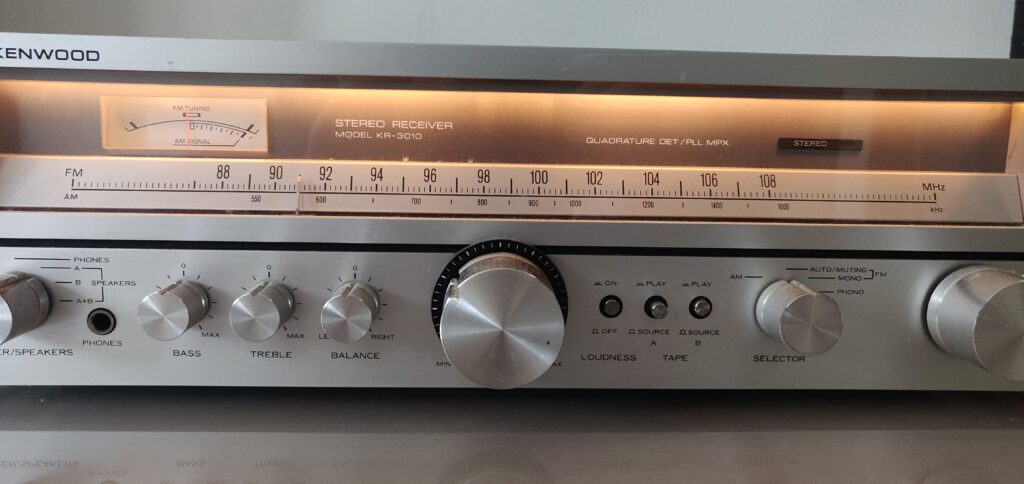
It’s been at least a decade since I’ve serviced this box. The volume dial developed dead zones and the light won’t turn on. In addition to corroded contacts, I think it may have a dead bulb and/or a blown fuse. I’m going to open it up, clean up the dust, clean the contacts with Deoxit, and see if I can determine what else might need replacing. I found a service manual here (free account required.)
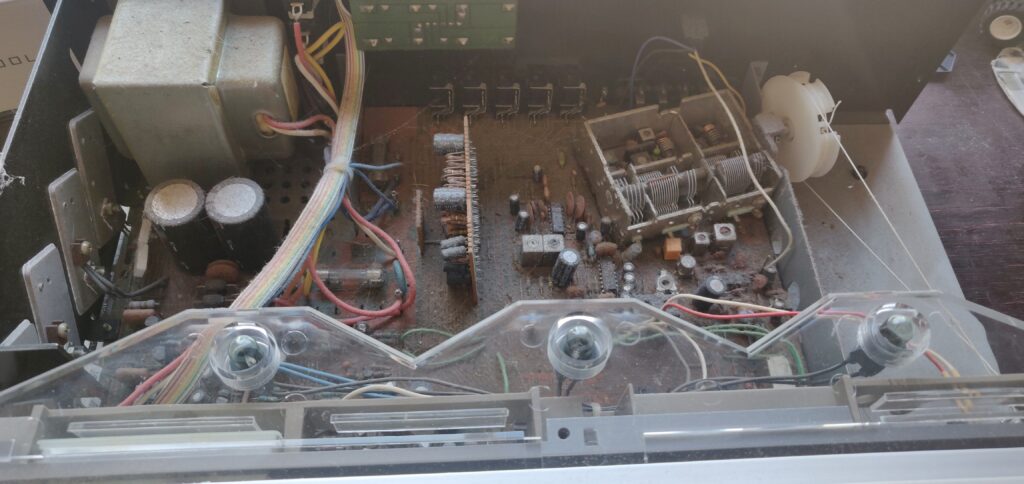
The two fuses are easily located. I don’t see any leaky capacitors, which is a good sign. I tested the two visible fuses in-situ and both read the same as shorting the contacts, so I assume they’re good. Next step was to clean the dust out and apply Deoxit to the pots and switches.

With some trepidation I powered it up. No light bulbs and there are still some deadzones in the volume knob, but I’m able to pick up FM stations. I’d probably call that a success but I’m not sure where I’m going to put the thing yet so I might as well go the distance and try to fix the bulbs before I screw it back together. I’ve seen enough mixed messages about the dead zones that I’m a little afraid of doing more harm than good by repeatedly cleaning the main pot.
I found replacement lamps from this ebay seller. When trying to replace the bulbs, that’s where my lack of experience really started to show. The bulbs where wired in like this:
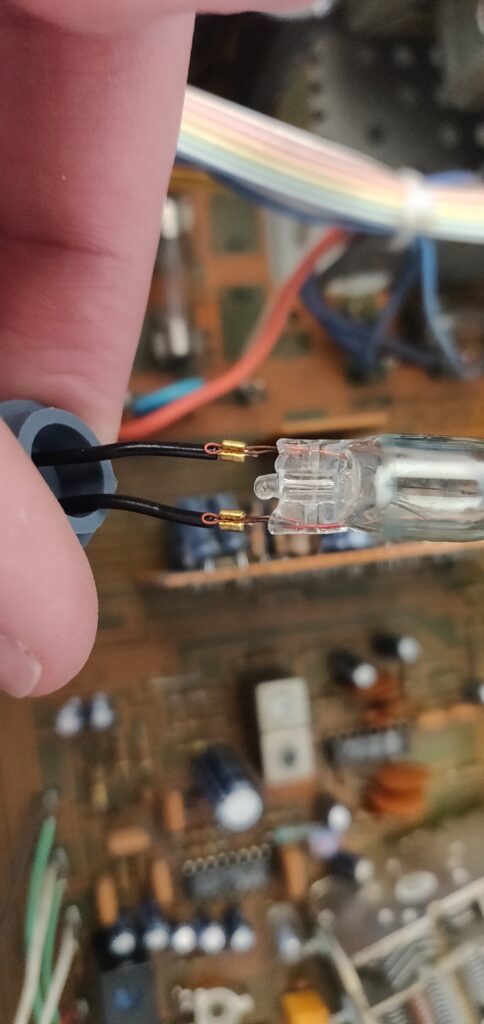
Two of the bulbs are on fairly long wires which give you enough slack to pry the connectors off and squeeze the connectors onto new bulbs or splice the wires. The middle bulb, however, does not afford you enough slack to pry the connectors off, so I cut the leads from the old bulb and attempted unsuccessfully to splice the old leads to the new leads. As a hail mary, I crammed the bulb into the socket anyway, figuring that the narrow wells that admit the wires should force them into contact. And I was right! All three bulbs lit up.
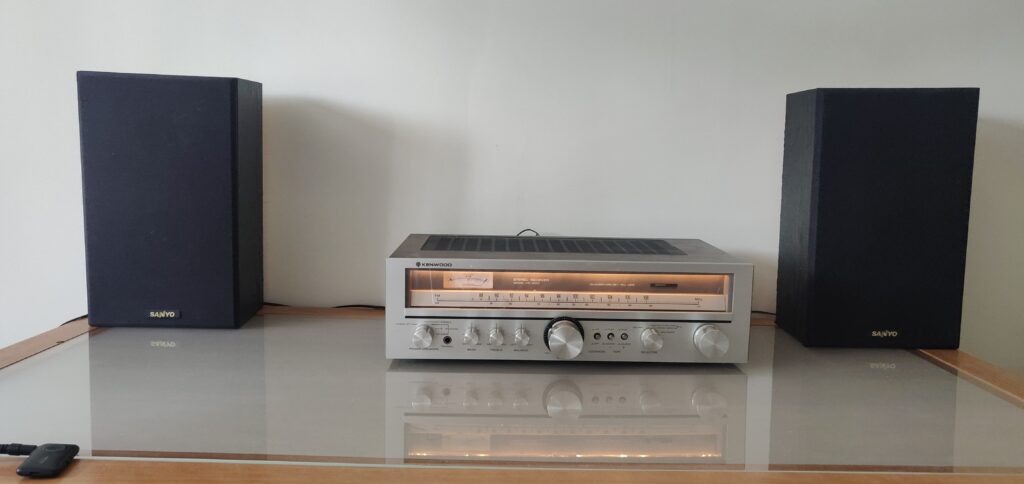
And with that (and a desk our neighbor didn’t want anymore) the setup is complete. I have a Bluetooth connector so that I don’t need to plug in my phone to use it; it’s now fully integrated into the 2021 music ecosystem. Not bad for a forty year old piece of hardware. And it’s still plenty loud.