Ever wanted to make a 3d vehicle model?
What follows is an extremely minimal (and probably very wrong) blender tutorial. I’m mostly posting this so that I do not forget, but I know that there’s an audience out there that just wants to use Blender to do quick modelling tasks, and this is the shortest path I’ve found to achieve that goal. This post explains how to make and texture the model. A subsequent post will explain the aspects that are specific to BabylonJS (and, thus, FlyThroughSpace)
Step 1: Bilateral Symmetry
Most scifi spaceships are bilaterally symmetrical, at least from the outside. I won’t get into for the rationale for this (if nothing else, cars and airplanes count.) And though there are Notable Exceptions, even those generally start from a symmetrical base with variations on each side.
We don’t want to have to recreate every change by hand, so we’re going to set up our blender object to automatically mirror our changes along the X axis.
Switch the “active data to display and edit” tab on the right to Modifiers (Wrench icon)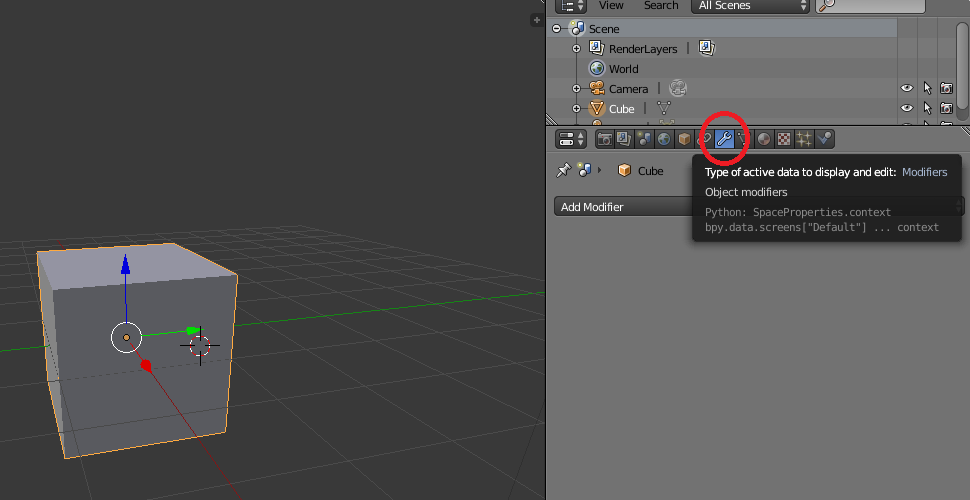
Now, add a modifier of the type “mirror” by opening the “Add Modifier” dropdown and selecting “Mirror”
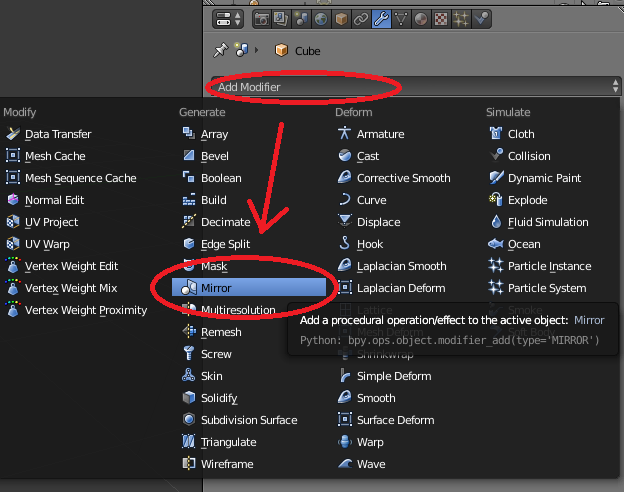
One thing I notice here is that it offers up what I think is the equivalent Python code so that you don’t need to do this task in the GUI. A laudable goal.
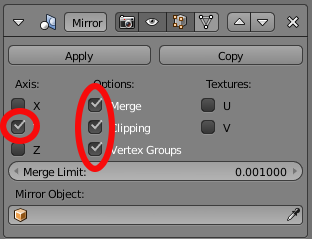
Now select the following options and don’t hit apply.
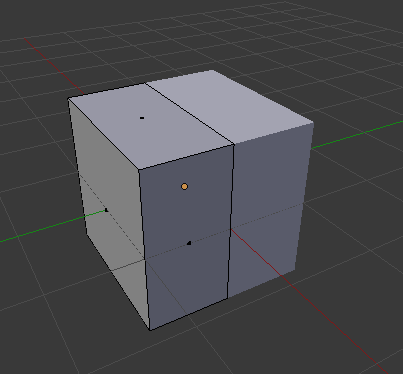
What follows is my least favourite step, because I’m 100% sure I’m doing it wrong. Your cube is half-repeated, because it was already symmetrical and repeated along the Y axis. You need to get rid of the real part overlapping with the mirror part. What I do is go to edit mode, set the selection mode to face, and then slide the face out of the mirrored side, then delete it. I encourage finding a more reliable method and leave it as an exercise to the reader.
At the end of this step, you should have half of a cube mirrored to make a full cube.
Step 2: Make your spaceship
I won’t claim to be an expert in actually using the modeling tools in Blender. When I first tried my hand at making 3d objects, it was in Lightwave, when your basic tools where Extrude and Slice, so that’s what I usually use to achieve the shapes I’m looking for. There are probably far better tutorials on how to actually model in blender out there, so feel free to consult some of those. I’ll be here, extruding faces and sliding edges around until you’re back.
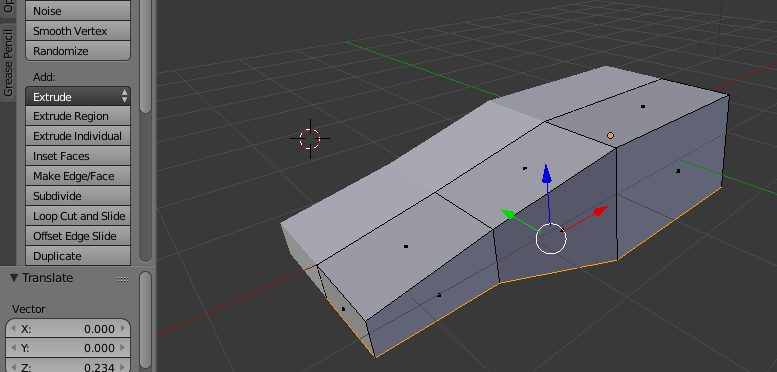
Some subdivision and the knife tool go a long way
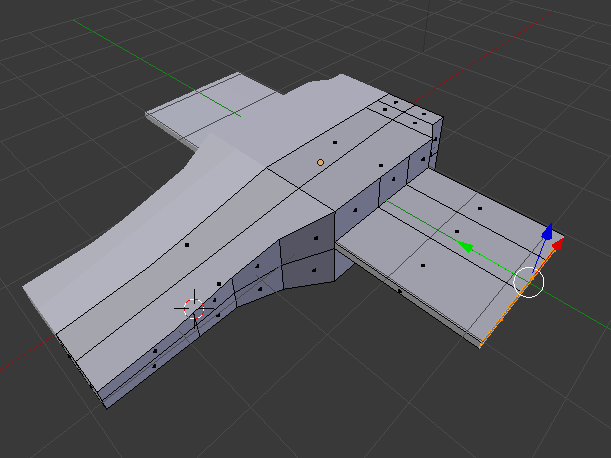
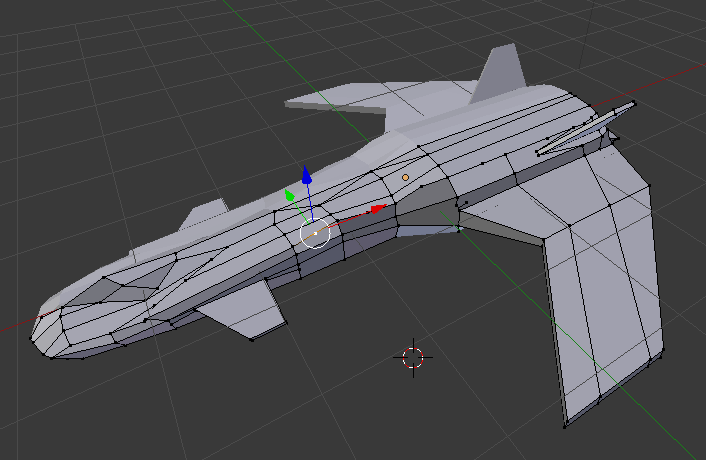
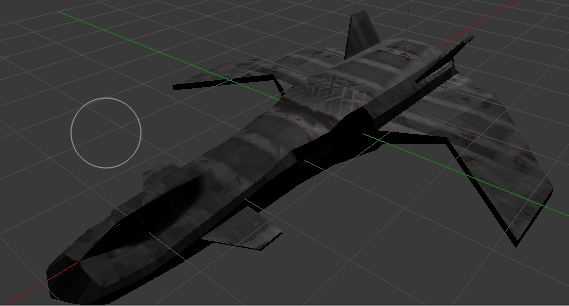
You can press ‘K’ to select the knife too, drag it around to add vertices and edges in the middle of faces. You can delete troublesome vertices and re-close your mesh by selecting three vertices and hitting ‘F’ for a new face. I won’t pretend to be an especially good modeler. Here are the results:
Step 3: Paint on a texture
Use the circle select in edit mode (faces) to select every face. You’ll need to rotate the model between uses of the select tool to get all of them. Now in “shading/UVs” press “unwrap” and select “Smart UV Project.” Now you can switch your bottom window to “UV Editor” mode and scale it up a bit (icon in the bottom left)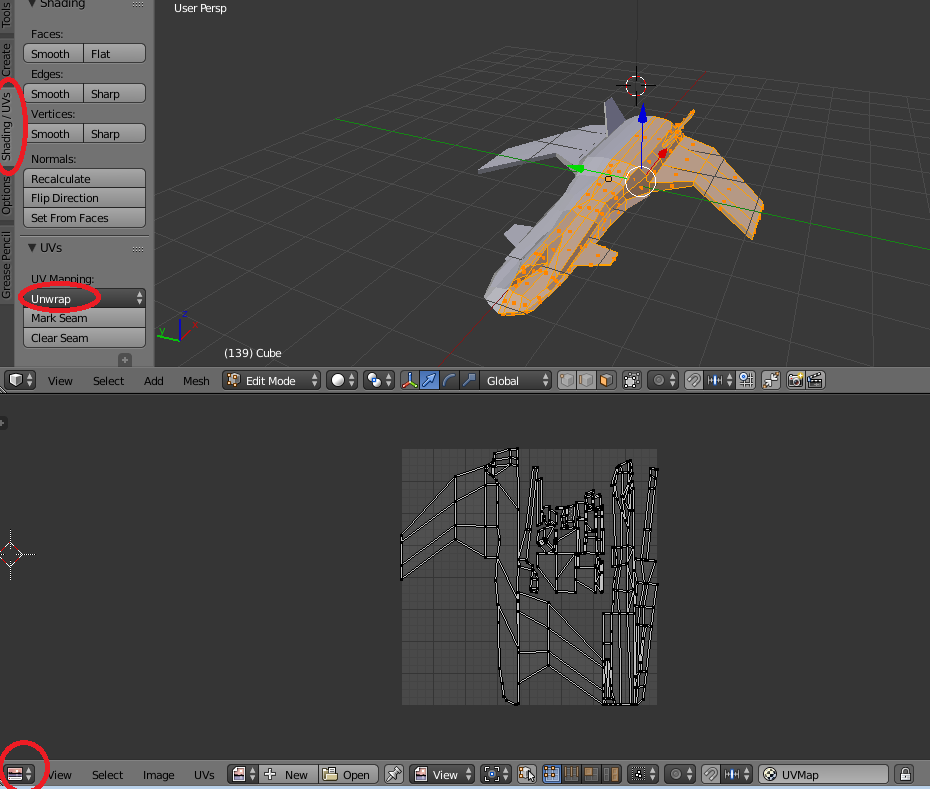
Now make a material for it, set the view mode to texture or material, and load up some random texture to paint on.
Well, that wasn’t very good. There used to be a way to just paint a single color and I was going to sort of airbrush it up, but I can’t find it anymore (leave a comment if you know where it is!) If you _must_ work with solid colors, you can texture paint from solid colored textures I guess.
If you haven’t saved your work before, do save it now and do not keep saving it after this step! We’re going to do some destructive editing in order to export for BabylonJS